Since this is an investment property my BF is being very careful and economical with what efforts and spend he puts into the renovation. This isn’t a long-term home, it is a one bedroom rental in an blue collar Pittsburgh neighborhood. Although this isn’t a huge remake we are still having fun with the project and making significant changes.
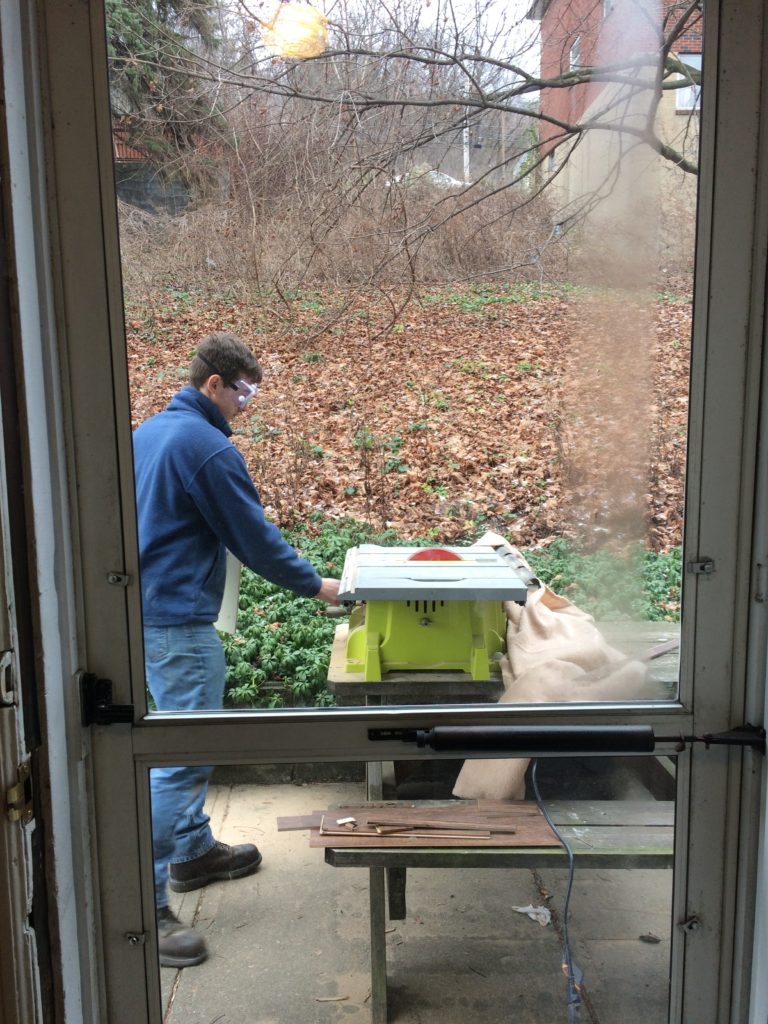
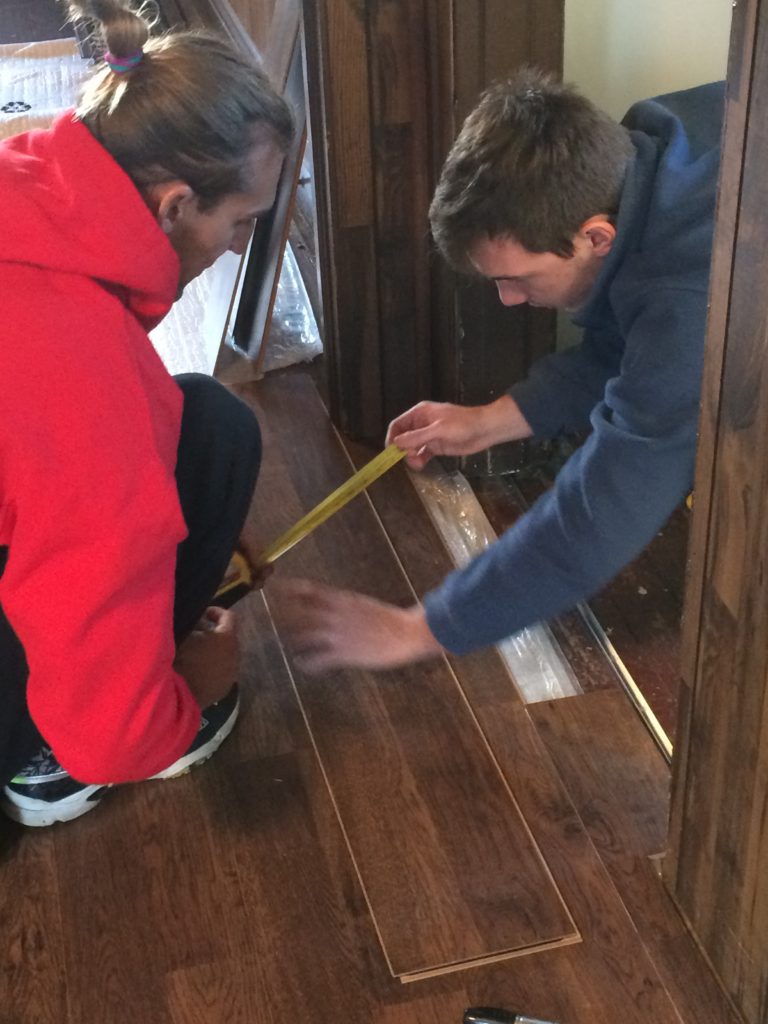
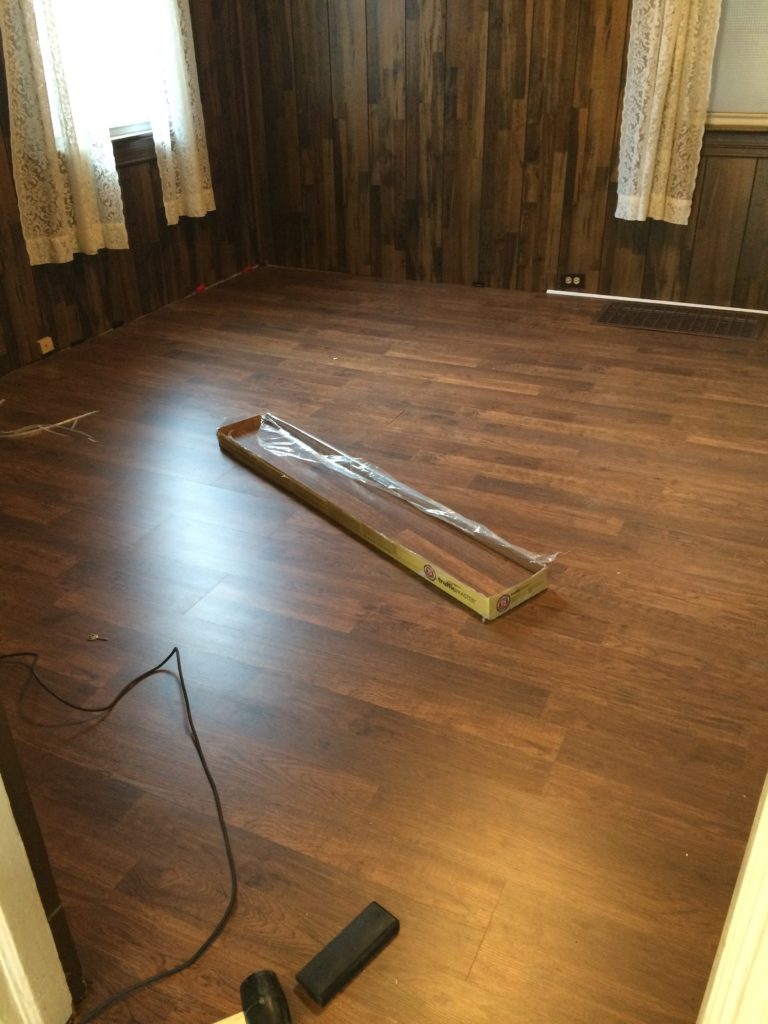
After demo we first started by installing laminate floating flooring. In my opinion, this is an intensive project that can only be completed with the proper tools, a more than moderate amount of intelligence, and paired with immense patience and will. The most important part of installing laminate is the measurements and table saw cuts. If you aren’t skilled in either areas you better buy a lot of extra laminate material. You should actually buy a bit extra anyways even if you are a professional mistakes and imperfections are inevitable.
My BF sneakily ordered the laminate without the sign-off from his project manager / personal shopper / interior designer (me) but he did an amazing job and picked something I most likely would have selected myself (probably because I had already given him plenty of ideas on what I would personally choose and also examples of what I would never choose). It’s a lovely warm brown shade in a thick (hopefully durable) laminate.
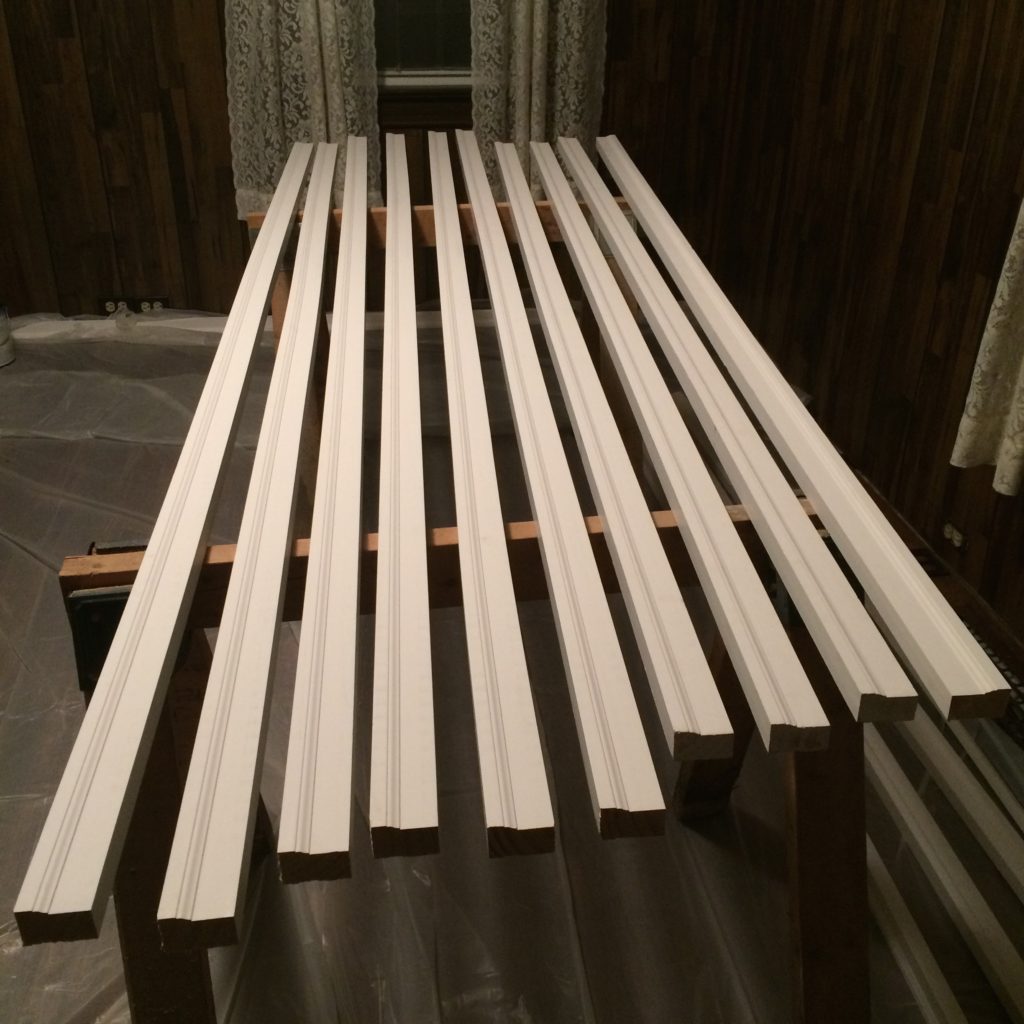
I was present at the next trip to Home Depot to help select a thicker more formal trim. This choice helps to cover the gap around the perimeter of the room, needed for floating flooring. We painted it with a nice crisp coat of paint in semi-gloss. We used a paint perfect for trim, Speedhide Interior Enamel Latex by PPG Paints, picked for it’s shine and durability.
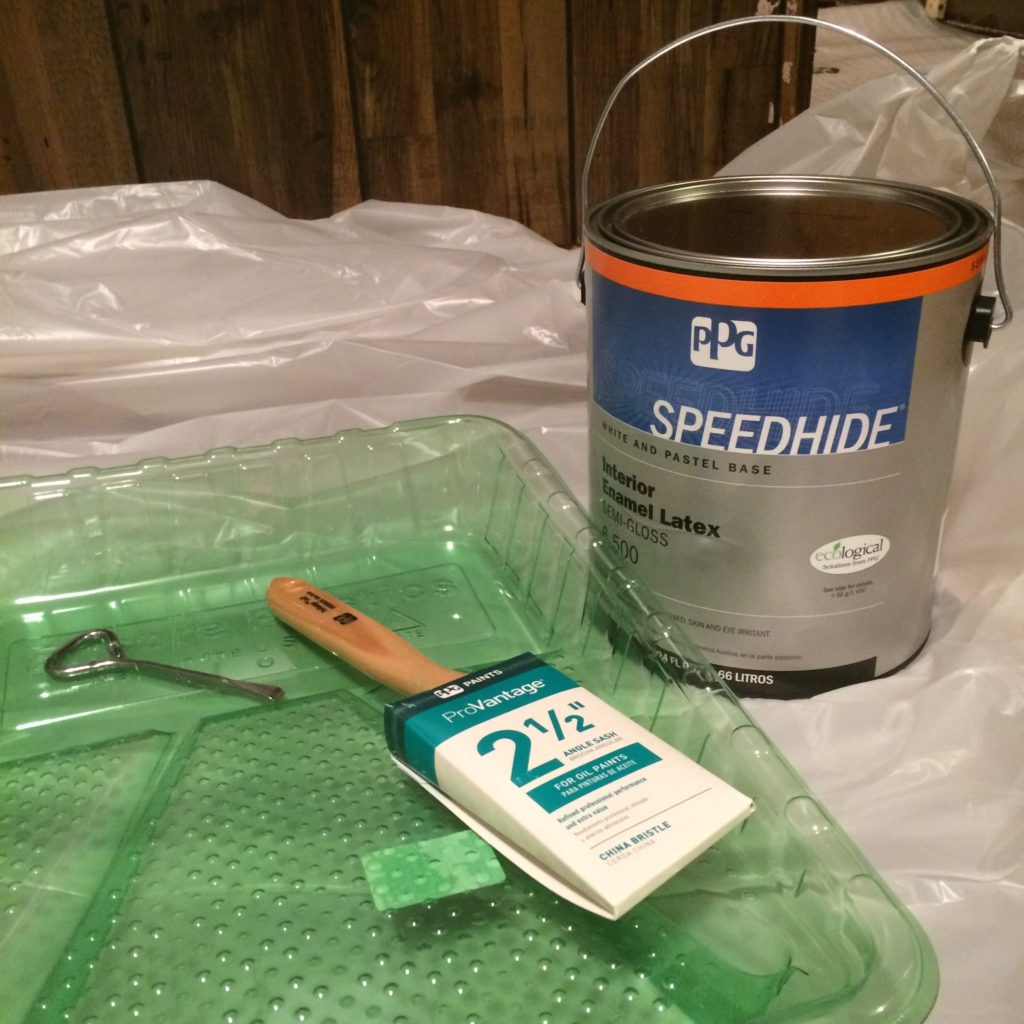
When painting trim it is best to use a high quality brush to lay the paint on thick in the direction of the wood grain. This will minimize the brush strokes for a smooth finish.
Check out the complete Living Room transformation post here.


3 Comments