Made with Stikwood samples, these DIY Weathered Wood Home Signs are charming, and quick & easy to create.
Materials:
- Stikwood samples
- Paint, I used FolkArt® Home Decor™ Chalk Paint
- Paint brush
- Letter Stickers
- Key, I used a faux decor / craft key similar here
- Hot glue gun
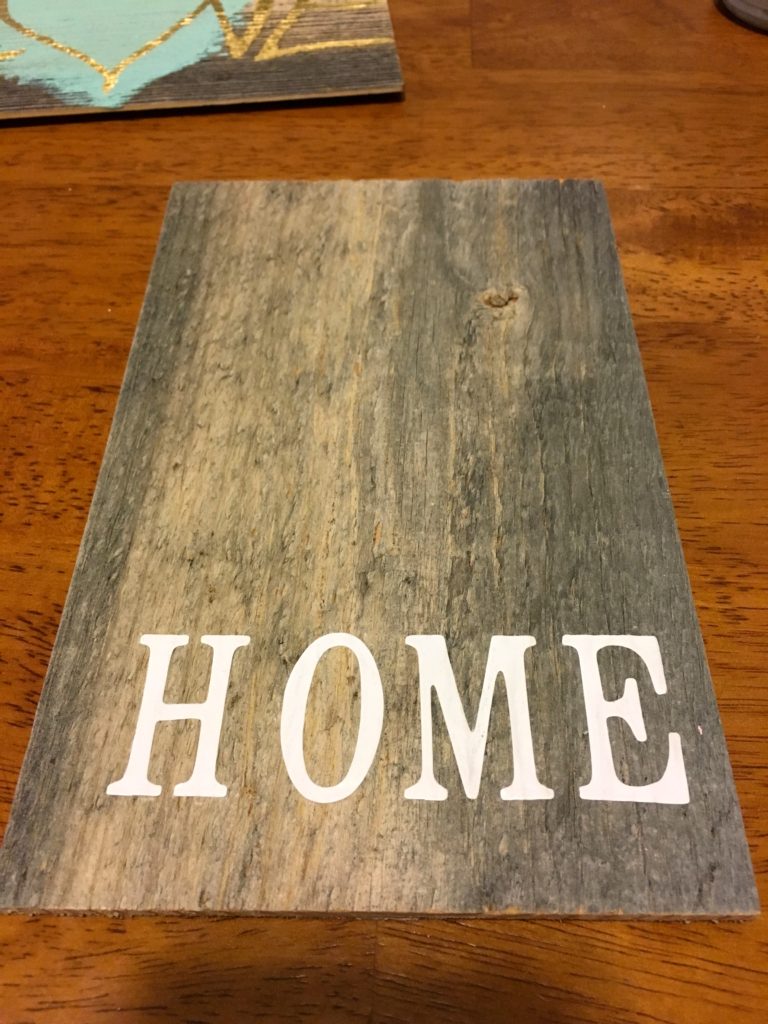
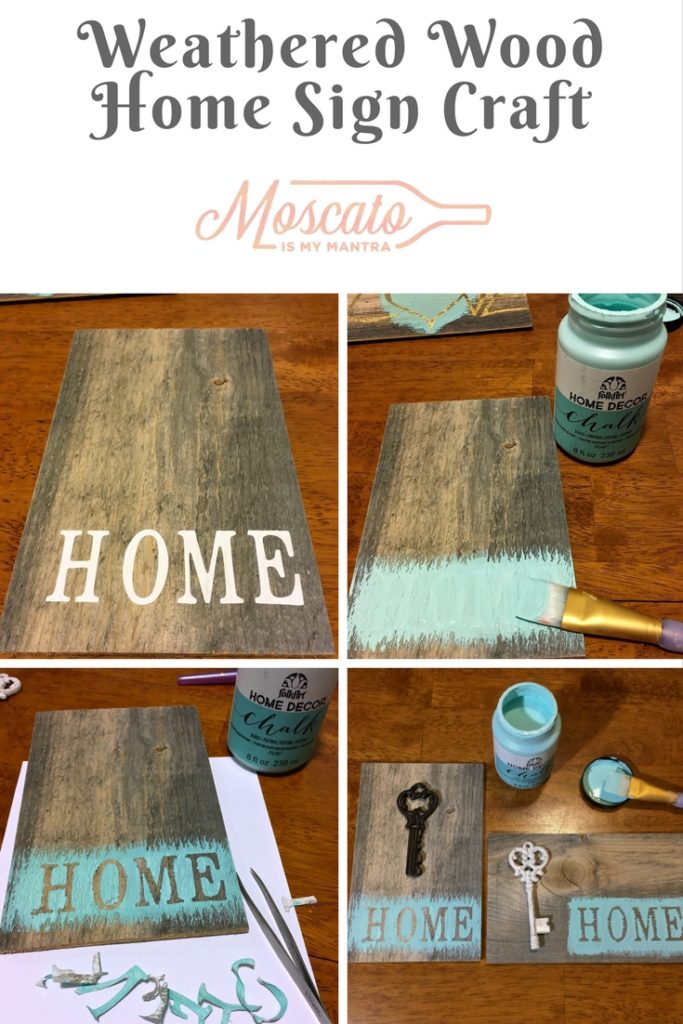
Step 1: Place Letter Stickers
Gather stickers and layout the word on the wood. Ensure the sticker is really on the uneven wood, so no paint will run underneath, by rubbing over the edges of the sticker with the end of the paint brush.
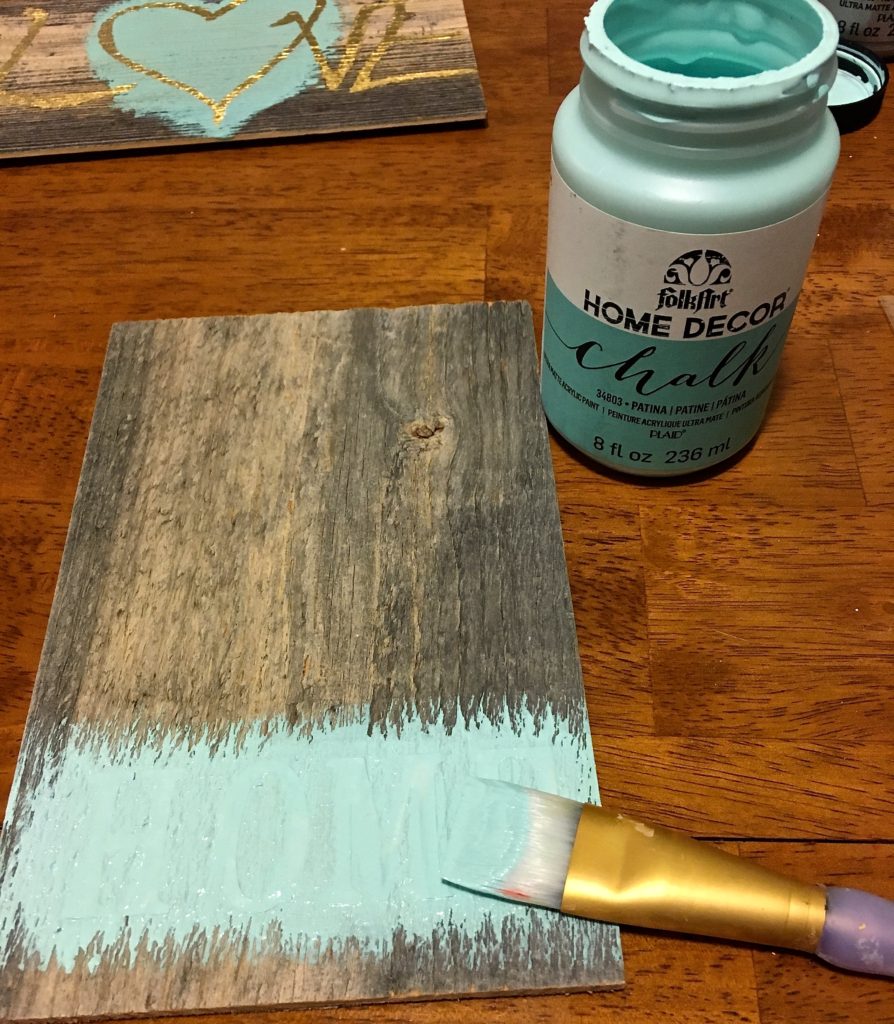
Step 2: Paint over Letter Stickers
I used a nice thick paint in a bright color to contrast the rough weathered wood. The uneven texture of the wood creates a unique painted look.
Step 3: Remove Letter Stickers
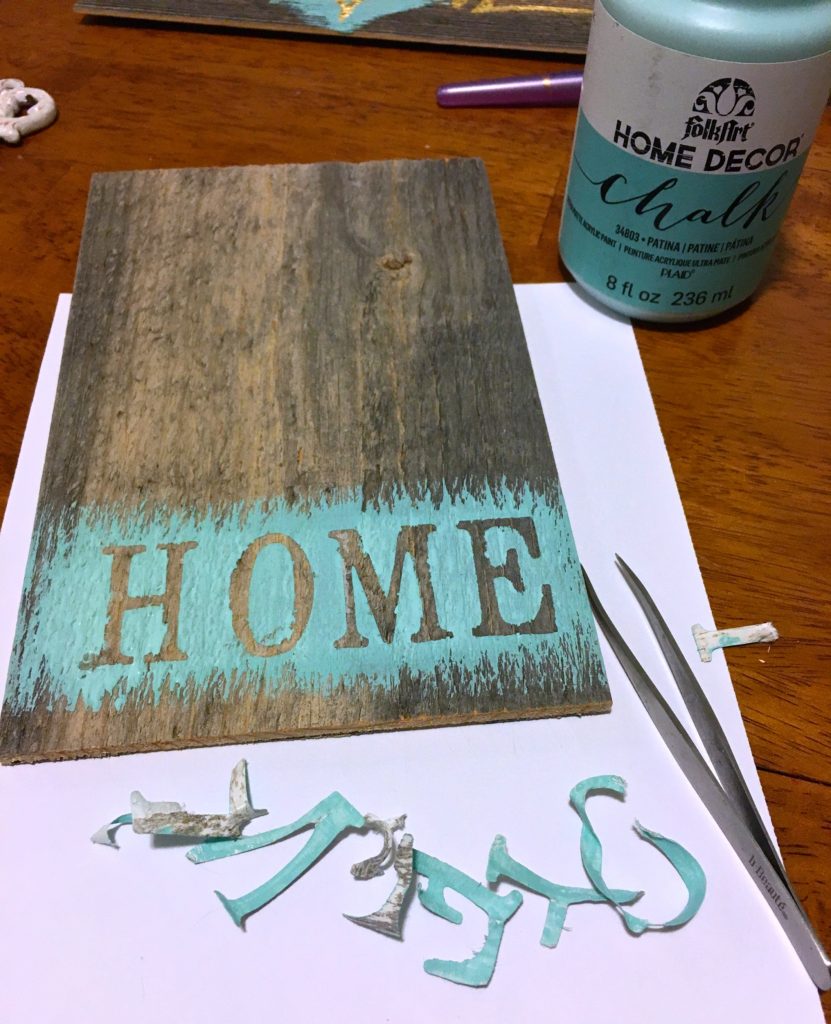
While the paint is still wet, remove the stickers with tweezers to reveal the design.
Step 4: Place Key Detail
Complete the welcome home theme by hot gluing the key to the wood.
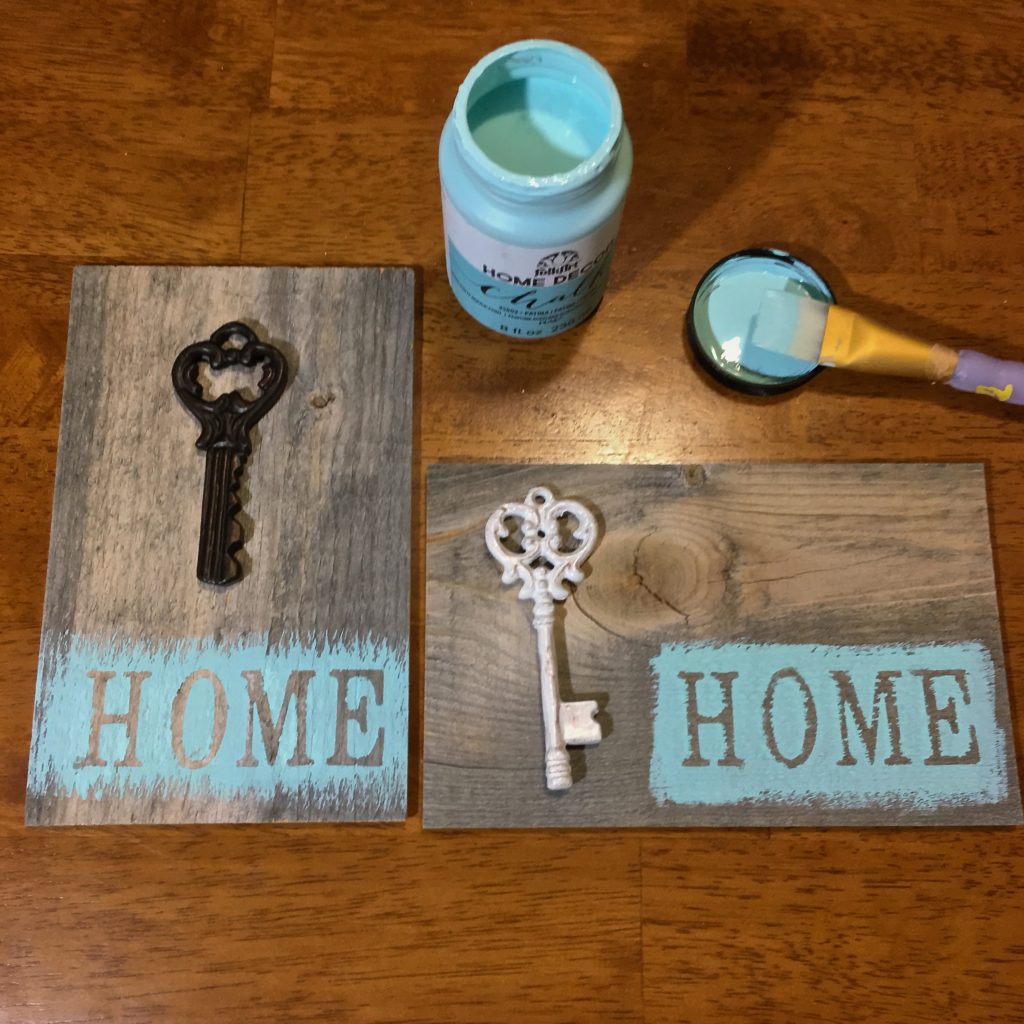
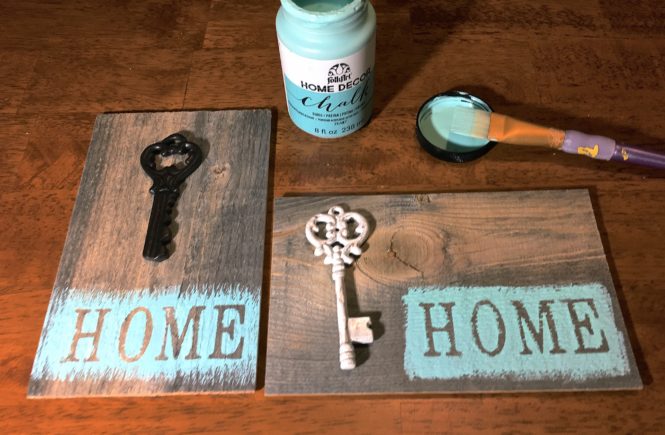
Hang or gift this sweet home sign to share the charming, welcoming feeling.
9 Comments
So simple, but fun to create 🙂 Thank you so much for reading my post & replying!
Vintage keys are fascinatingly beautiful! Thank you for reading & replying!
I love DIY projects, and this one looks fun and doable! My grandma had a real key like the white one for her bedroom. I always loved the look of it!
This is so cool. You make it look easy ?
OMG this is so great! I need to learn how to do this now! it seems like being really easy!
This a good DIY home projects. Very easy! 🙂
What a fun craft for spring and summer! I love the color you chose for your own two signs. Perfect coastal decor. 🙂
I love these!
I love those signs and now I can make one myself exactly how I want it, thanks,